
Brownstone Boys: Finishing a Basement
Turning a damp scary head-knocking cellar space into a useful area can mean increasing ceiling height, reducing moisture and finishing the space.

Preparing a cellar for an excavation that will use bench footing. Photo by Brownstone Boys
Editor’s note: Welcome to the 83rd installment of Brownstone Boys Reno, a reader renovation diary about renovating a brownstone in Bed Stuy. See the first one here. They also blog at www.thebrownstoneboys.com.
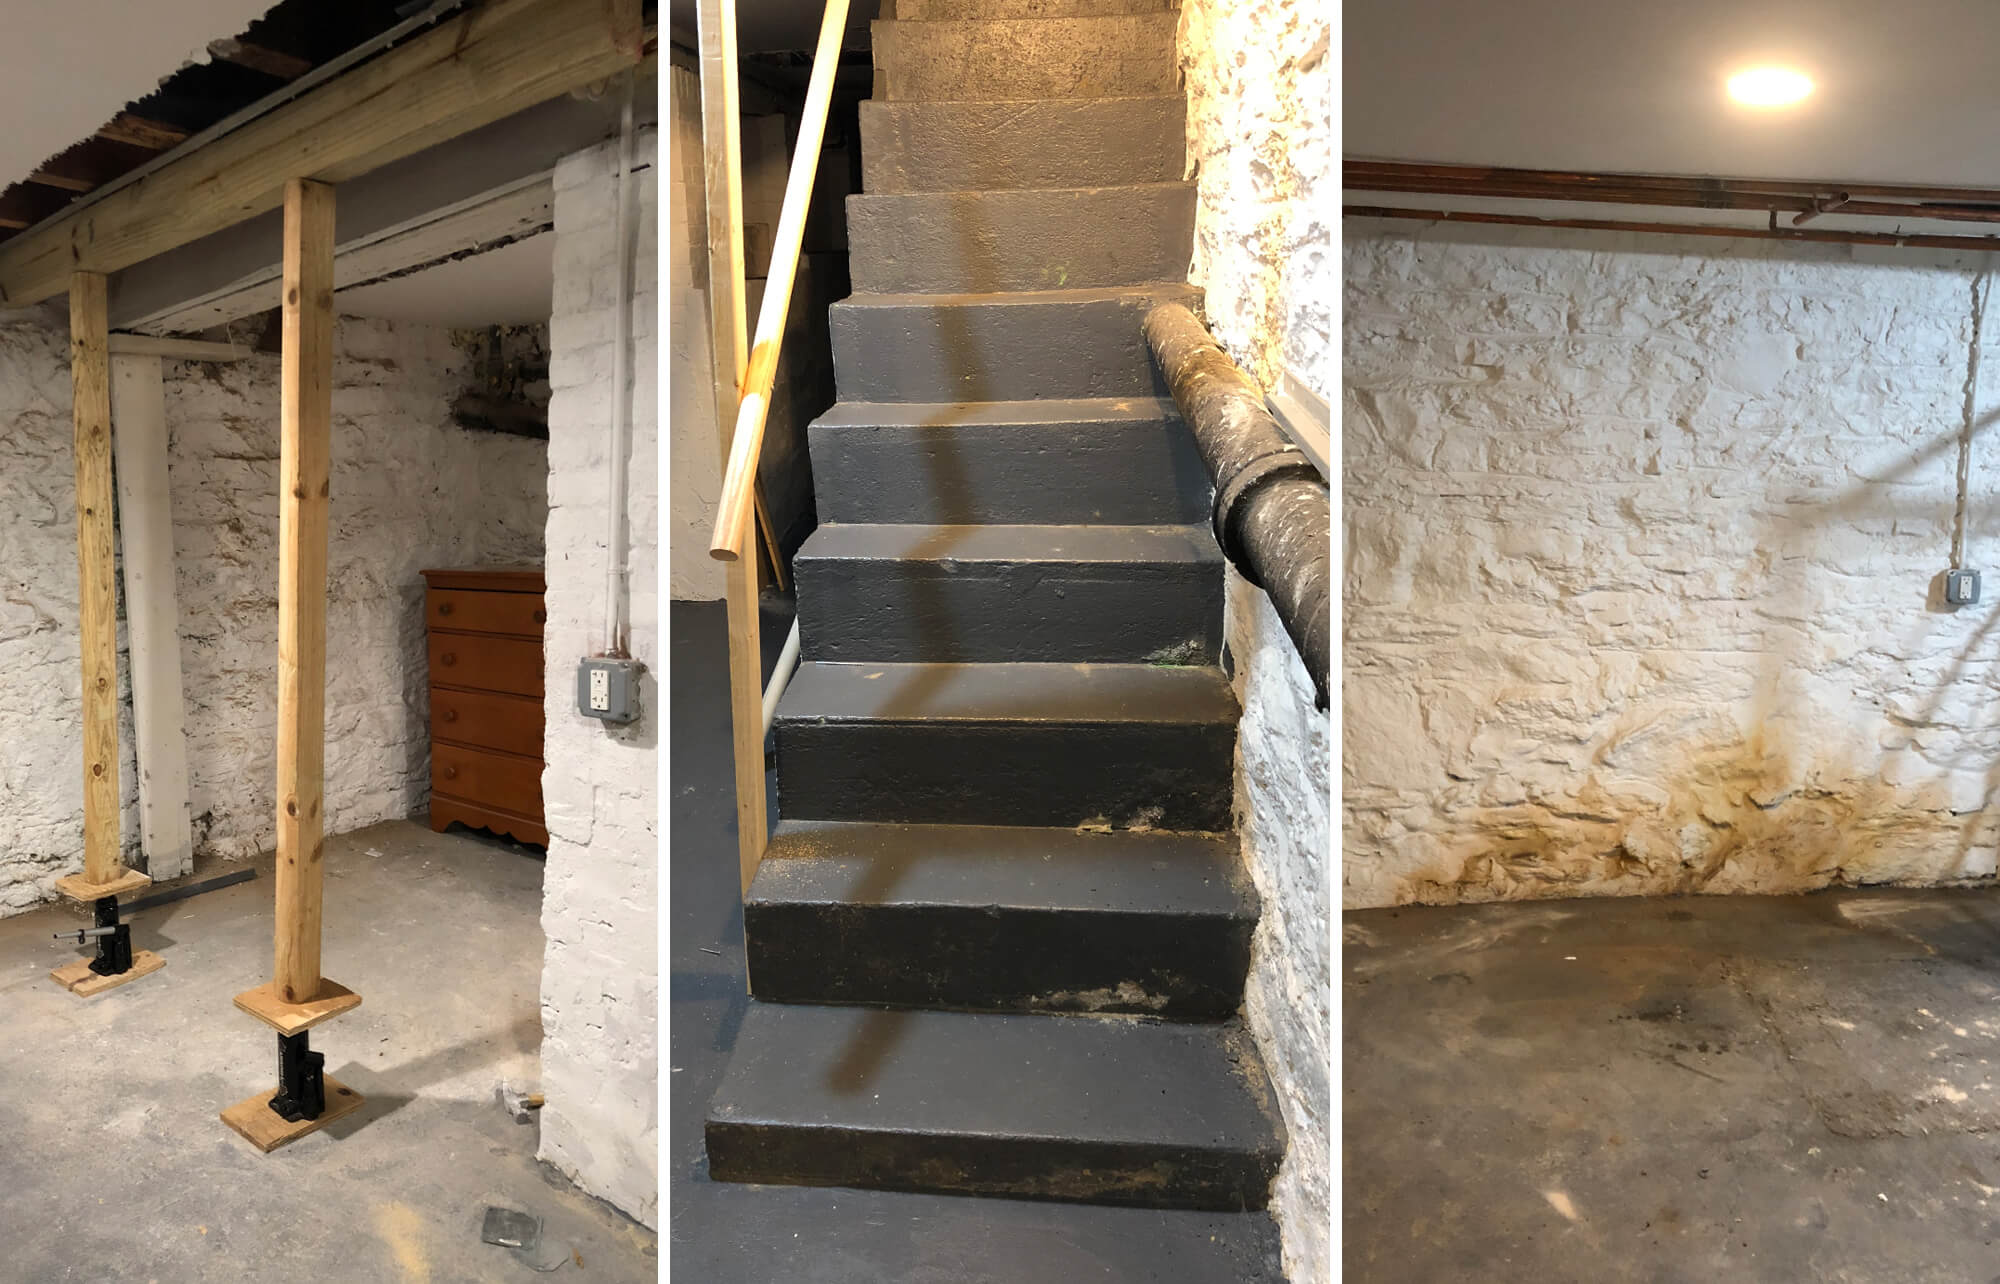
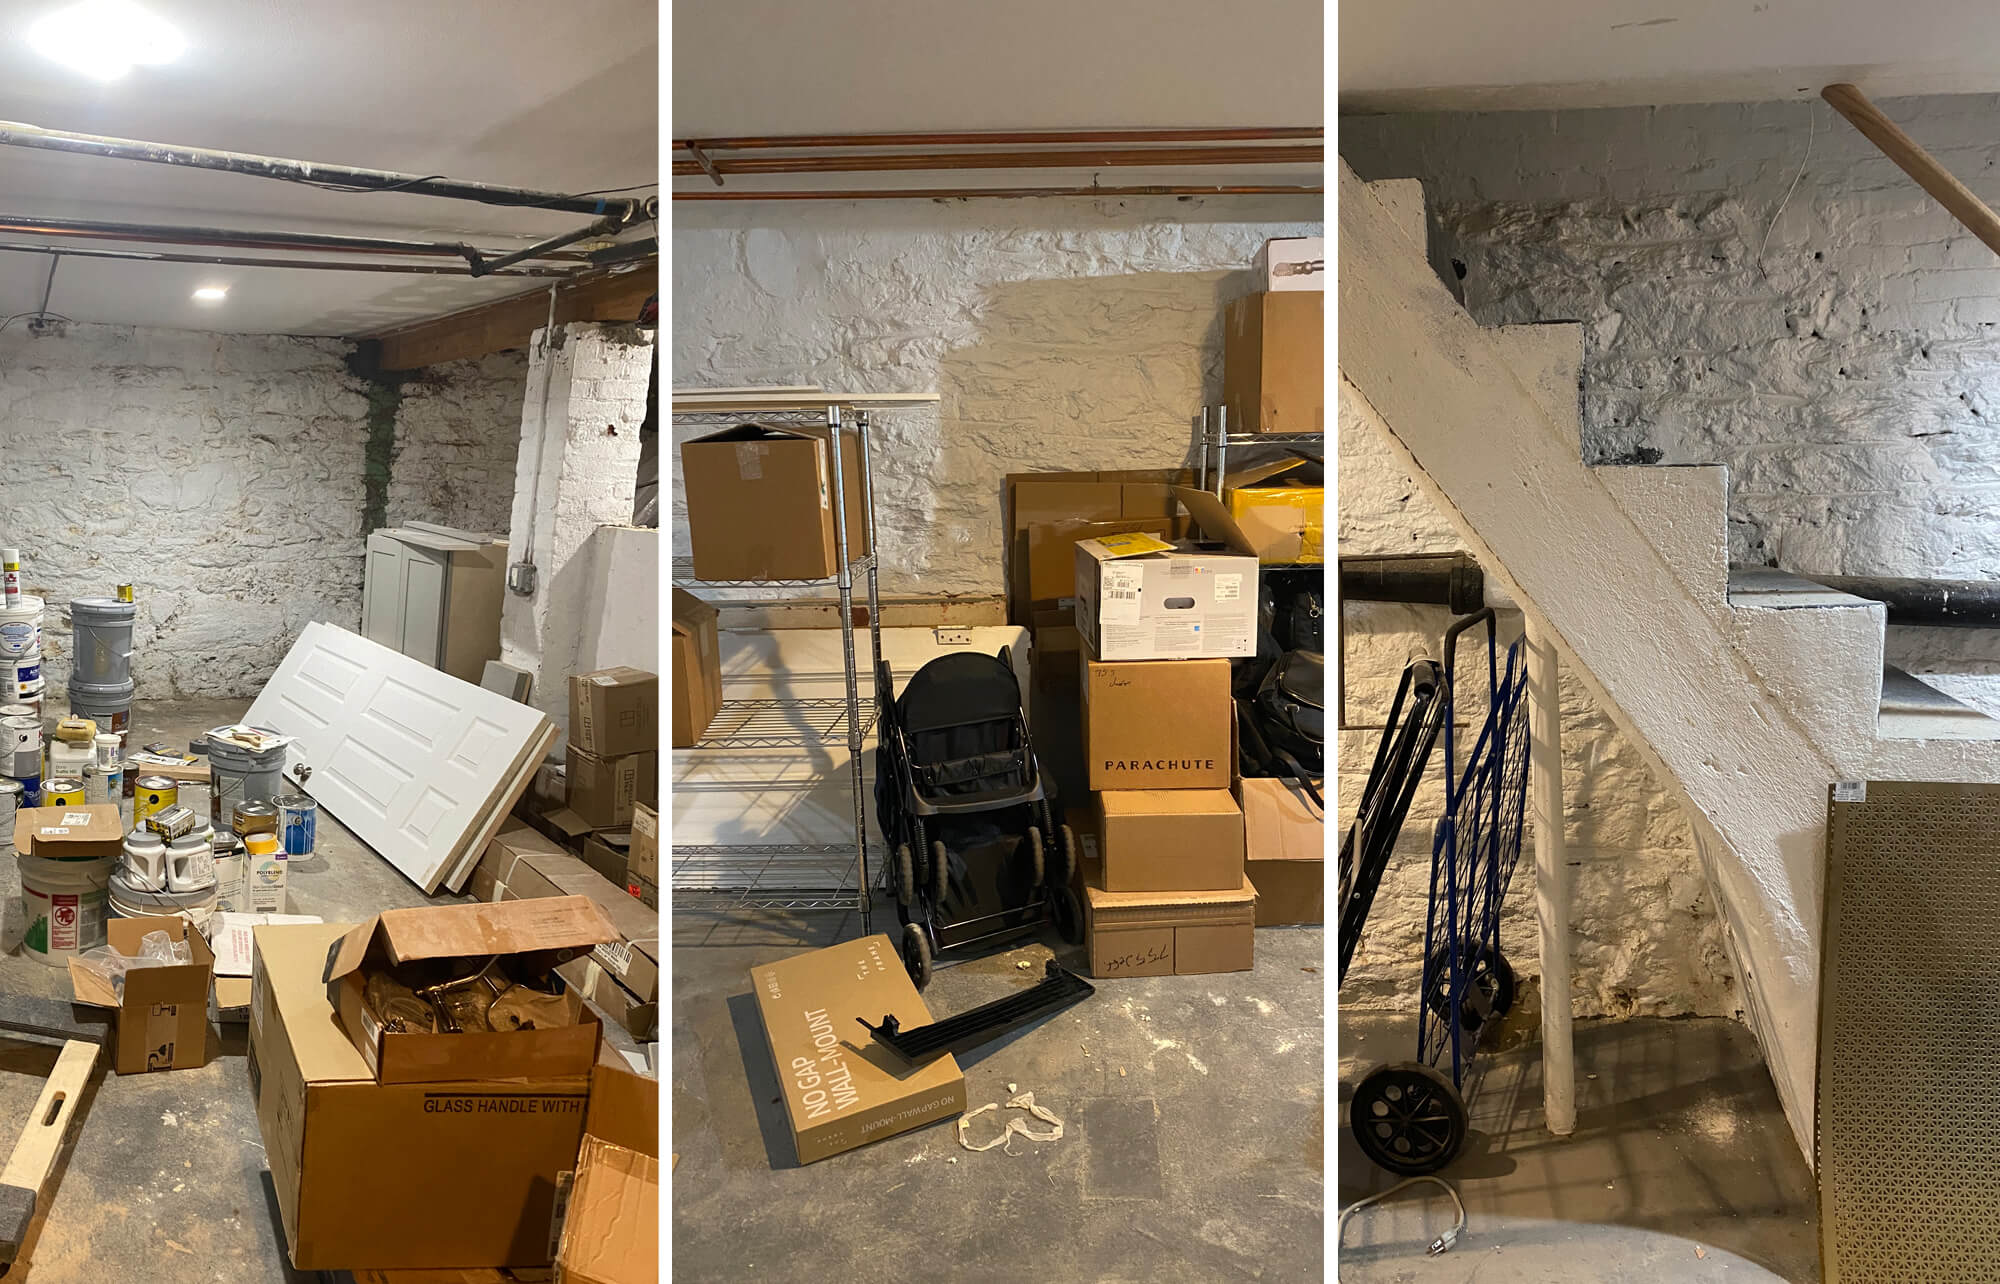
We’re about to embark on another project at our house. We’re making over our cellar as a laundry room and storage area. Often the cellar is overlooked as an entire additional floor of living space in a Brooklyn brownstone. While you might not want to sleep in a subterranean room, it has potential as a gym, laundry room, craft or artist studio, or even entertainment area. But how do you turn the damp scary head-knocking space into a useful area? Our space is going to be a DIY project but sometimes the project can be much more involved. Increasing ceiling height, reducing moisture, and finishing the space can be as involved as renovating upstairs.
Ceiling height
Do you need to tilt your head to the side to stand up in your cellar? One way to really make it feel like a part of the house is to increase the height of the ceiling. It’s very unlikely you’re going to move the ceiling up, so the best option is usually to dig down. We’ve heard from a lot of homeowners in Brooklyn looking to do that, and while fortunately we don’t have to in our cellar, we wanted to share what we learned about the process and possibilities.
This is a project for the professionals. You usually need an architect to file plans, city approval, and likely a structural engineer depending on how deep you want to go. They will start by digging probe holes in the slab at the foundation to understand how low it goes. You can’t dig your cellar down past the bottom of your house’s foundation. So sometimes the foundation will need to be strengthened, a process called underpinning. Another technique is called bench footing, which will provide the necessary support so that the foundation isn’t compromised. The existing slab will be demolished, tons (literally) of soil will be removed, the foundation will be reinforced (with the method of choice mentioned above) and a new slab poured. (The slab should be appropriately thick and installed over a moisture barrier to prevent moisture penetration through the floor.) Now with your new high ceiling (or lower slab), you carry on finishing the rest of the project.
Waterproofing
If you’re going to finish your basement with new electrical, flooring and walls, you’ll want it to be as dry as possible. The place where the most water tends to penetrate the foundation walls is in the back. The sides are typically other houses, and the front is usually mostly cement to prevent much water from entering. To truly make the back or front wall of your foundation impenetrable you’ll want to dig down outside to expose the entire foundation wall and waterproof and repoint the exterior of the wall. There are many waterproofing techniques that can be used including building a secondary masonry wall or using a waterproofing tar like material. Once the exterior wall is water tight, the trench can be filled back in.
The interior of the foundation walls can also be repointed all the way around to make sure they are in good condition. It also leaves them clean and tidy if you want to keep them exposed for a subterranean look and feel.
Finally, add a permanent plumbed dehumidifier to keep the air and walls dry.
Finish materials
If you want the cellar to feel more like a real room like the rest of the house you can add walls once the cellar is dry. Typically a studded wall is built all the way around in front of the foundation walls. Separate rooms can be created for the utilities to keep them out of the way of the living space. Many people choose to use cement board instead of drywall just to further protect the space from moisture problems.
You can add electrical outlets all the way around for any appliances, and recessed lighting can keep the ceilings feeling high.
On the floors, depending on what you plan to use the space for, you can do anything from putting a functional coat of Drylok paint to laying tile or other finishes on the floor. A wood floor is not usually recommended because of the potential for humid and wet conditions, even with the precautions we mentioned.
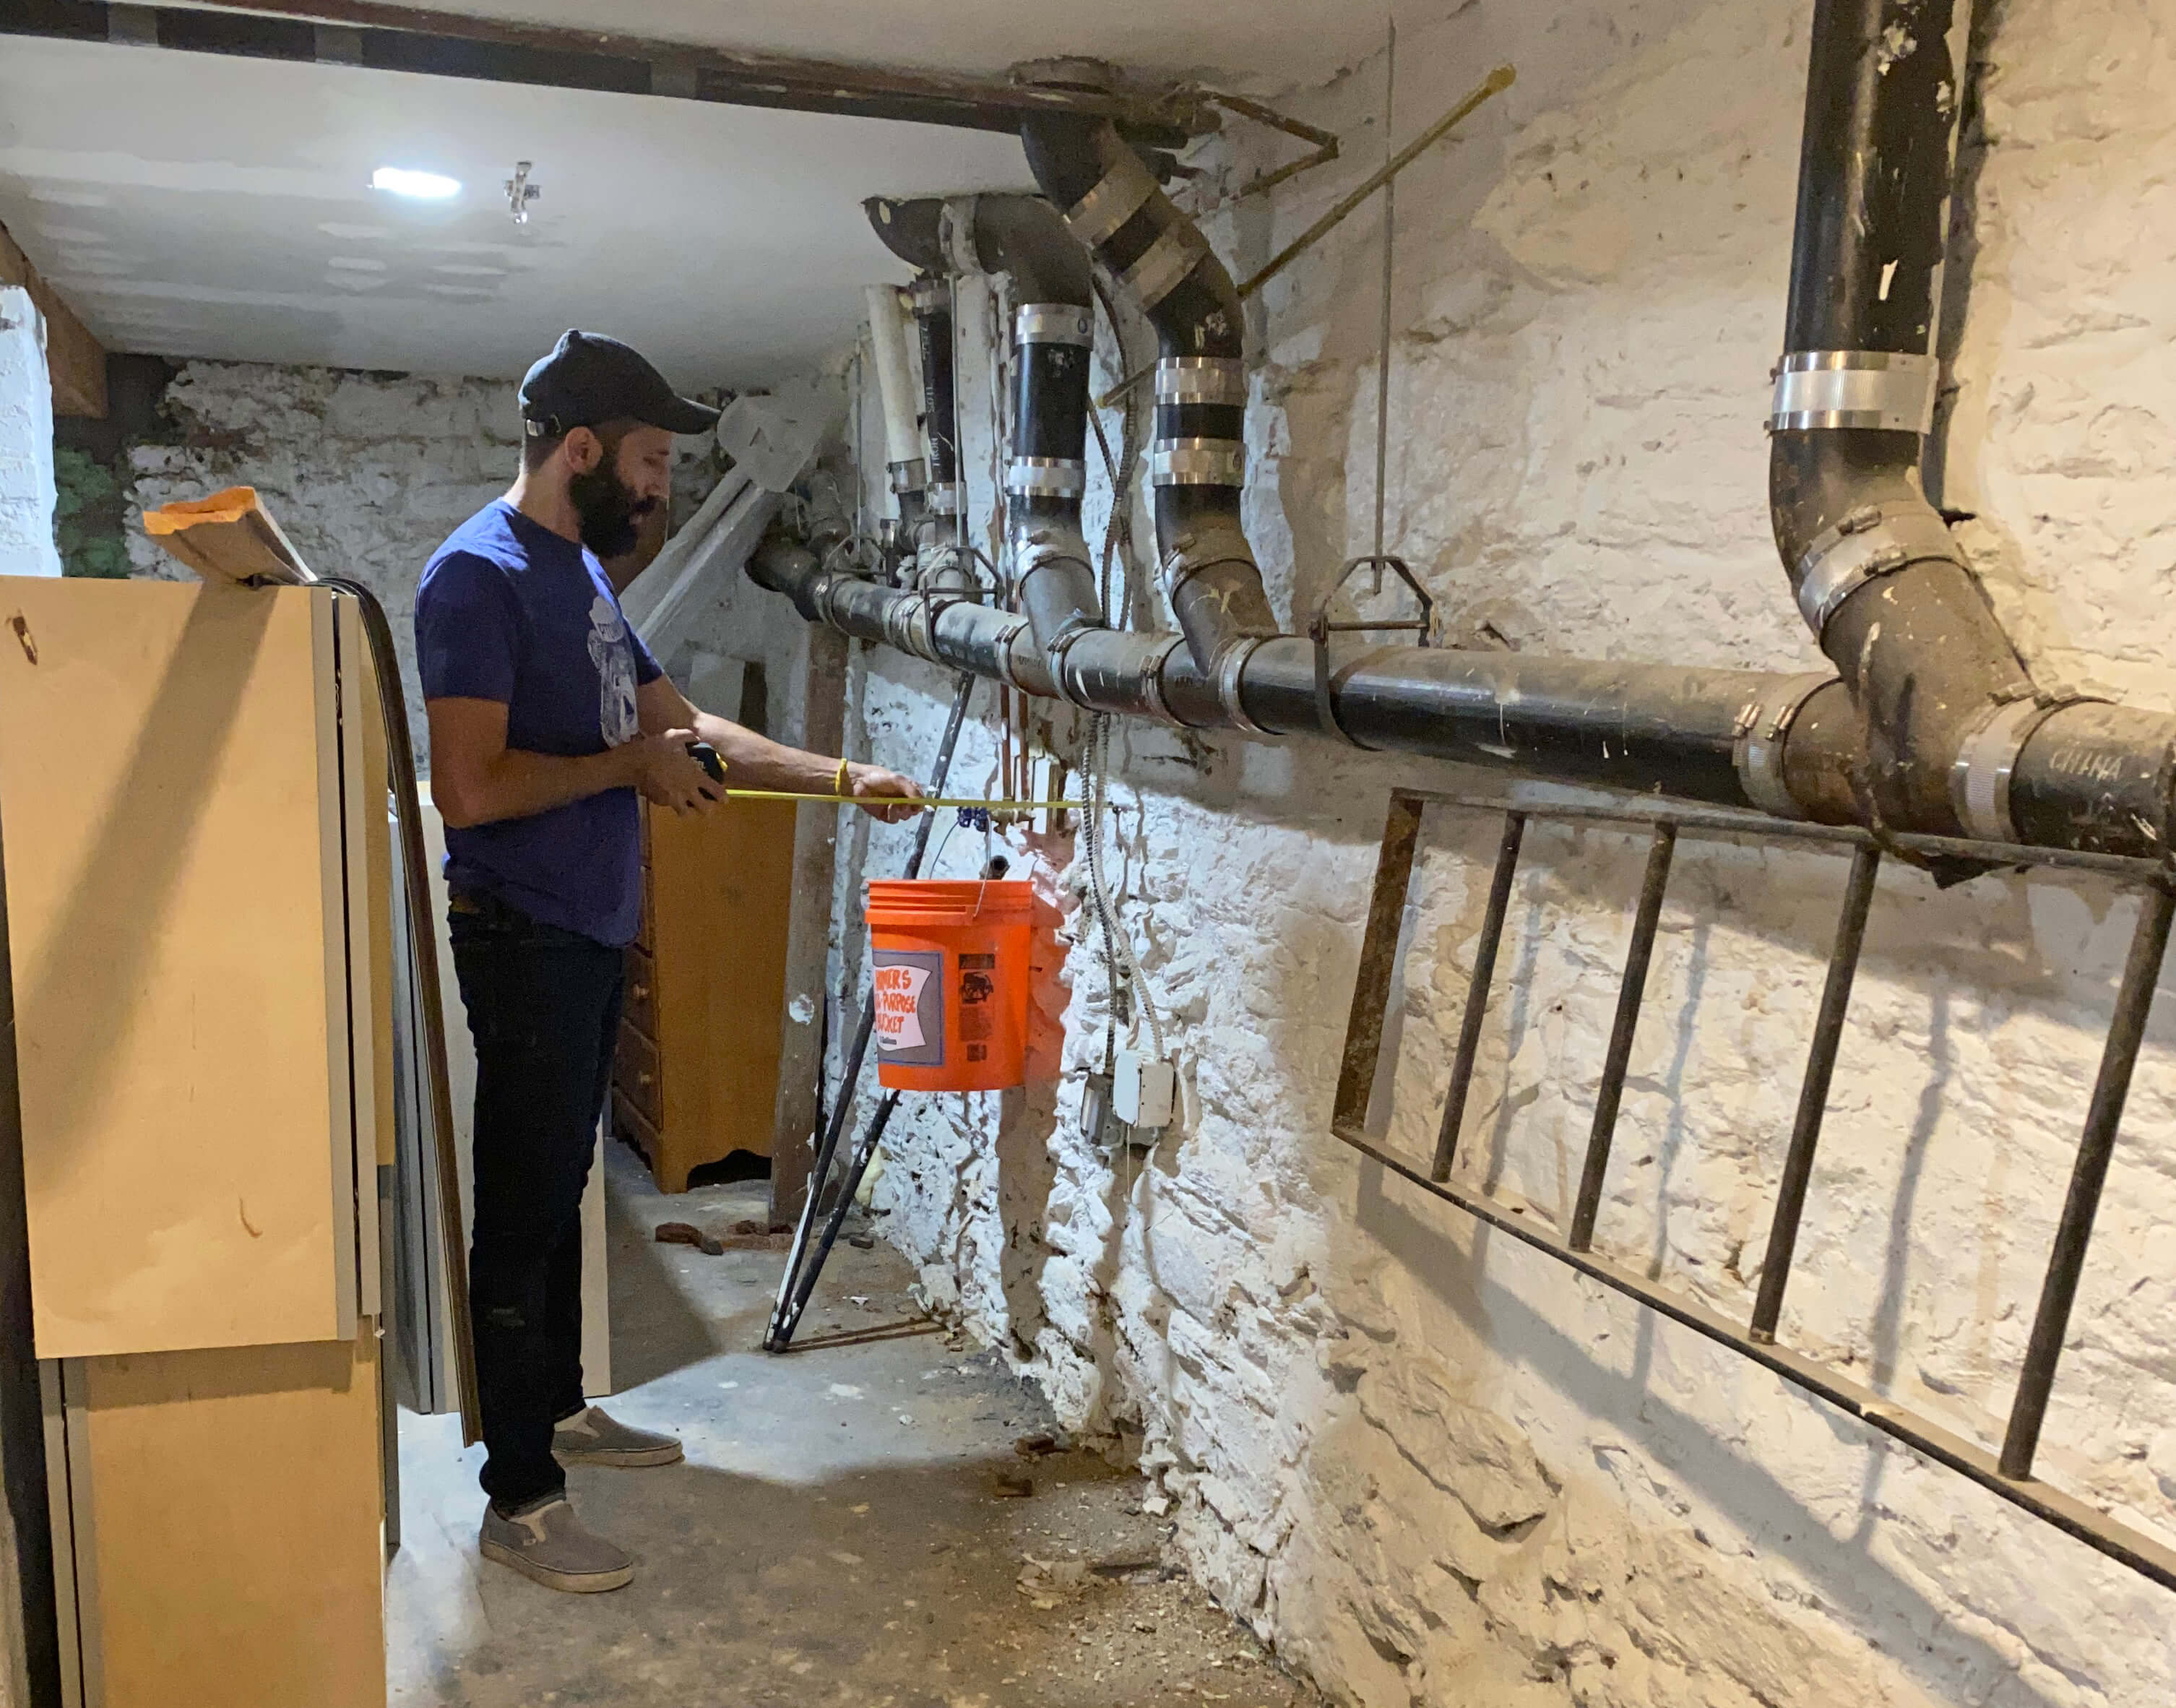
Plumbing
Most houses in Brooklyn have the main sewer pipe along one of the foundation walls about 3 to 5 feet off the cellar floor. This means that other than a washer and dryer, which can connect to the sewer through a hose, most plumbing will require a pump since waste will need to travel up to reach the sewer pipe. NYC code allows for a two-piece bathroom — a sink and toilet — in a cellar but, in our experience, showers and bathtubs are not allowed.
Before we get too many ideas for our space, we better get to work on our DIY project. Happy renovating!
[Photos by Brownstone Boys unless noted otherwise]
Related Stories
- Brownstone Boys: How to Strip Paint Off a Beautiful Marble Mantel
- Brownstone Boys: Should You Replace a Lead Water Main?
- Brownstone Boys: Repairing Our Stoop and Historic Ironwork
Email tips@brownstoner.com with further comments, questions or tips. Follow Brownstoner on Twitter and Instagram, and like us on Facebook.


What's Your Take? Leave a Comment